How to Create a HubSpot Form in WordPress
Are you looking to add a Hubspot form and add it to your WordPress site?
HubSpot is a popular all-in-one marketing platform designed to help grow your business used by over 113,925 people across the globe. Hubspot also enables you to create engaging forms for your website.
In this article, we will show you how to create a HubSpot in WordPress.


Why Use HubSpot to Create Forms
Hubspot is a marketing and sales platform that helps companies grow. It comes with numerous tools including a customer relationship manager (CRM), a content management system (CMS), built-in email marketing, and lead generation.
They also have a robust WordPress form builder, which seamlessly integrates with WordPress, allowing you to create hassle-free forms.
This form builder is an easy drag-and-drop builder that enables you to create interactive forms without a single line of code, making it one of the best contact form plugins.
Also keep in mind that HubSpot can also easily integrate with other form tools like WPForms, Formidable Forms, and more. With that being said, let’s see how you can create a HubSpot form in WordPress.
Method 1. Creating a HubSpot Form Using The HubSpot Plugin
You can easily create a HubSpot form for your WordPress website using the HubSpot plugin.
First, you need to install and activate the HubSpot plugin. For more details, see our guide on how to install a WordPress plugin.
Upon activation, the plugin will add a new menu item WordPress admin sidebar. Just click on HubSpot to be taken to the setup wizard where you can create a HubSpot account if you don’t already have one.
If you have an account, you need to click on the ‘Sign in here’ link at the top.


This will open up a ‘HubSpot Login’ popup.
Simply type your username and password and then click the ‘Login’ button.


After you’ve logged in, HubSpot will ask if you want to continue with the account you’ve just logged in with.
Simply click the ‘Continue With This Account’ button.


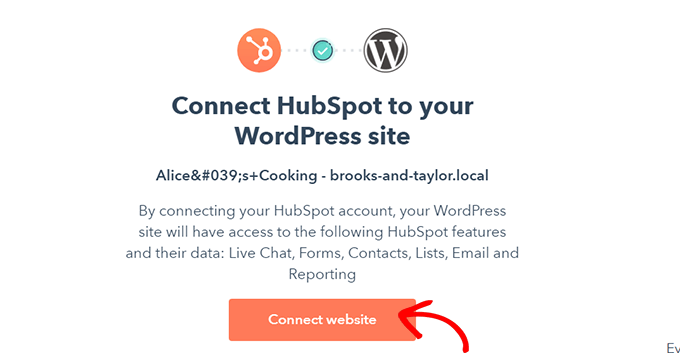
Then you’ll be asked to connect your HubSpot account with your WordPress website.
Just click on the ‘Connect Website’ button.


Once you’ve connected the WordPress website with your HubSpot account, head over to HubSpot » Forms from the WordPress admin dashboard.
This will take you to the ‘Forms’ page. Now, simply click on the ‘Create a Free Form’ button at the top right corner.


Next, you’ll have to select your form type and then click the ‘Next’ button on the top.
For this tutorial, we will be creating an ‘Embedded form.’


After that, you’ll be taken to the HubSpot template library.
Simply choose your preferred template, such as ‘Registration’ or Contact us.’ Then, just click the ‘Start’ button at the top.


Now that you’re on the Form Editor, you can edit the pre-made form template by dragging and dropping fields from the left into the preview at the right.
When you’re done customizing, click the ‘Submit’ button at the top.


This will open up a ‘Review And Publish’ popup.
Simply scroll down and click the ‘Publish’ button.


After you click the ‘Publish’ button, a popup will appear on your screen. As this is an Embedded form, a shortcode will be provided.
Now, just click the ‘Copy’ button beside the shortcode.


You can embed this code on any page where you want to add your HubSpot form. For more information, check out our guide on how to add shortcodes in WordPress.
Method 2. Creating a HubSpot Form Using WPForms
You can also create a HubSpot form using WPForms as this plugin comes with a HubSpot integration addon. WPForms is the most popular drag & drop WordPress form builder with over 5 million active installs.
Note that you need at least a WPForms Elite license to access the HubSpot addon.
The first thing you need to do is install and activate the WPForms plugin. Check out our guide on how to install a WordPress plugin for details.
Upon activation, go to WPForms » Addons from the admin dashboard. This will take you to the ‘WPForms Addons’ page.
Simply locate the HubSpot addon and click the ‘Upgrade Now’ button.


This will take you to your ‘WPForms Account’ page. Here, simply scroll down to the ‘HubSpot Addon’ and click the download button.
After that, you can install and activate the HubSpot addon the same way that you installed and activated the plugin.


Next, go to WPForms » Settings from the WordPress dashboard. Then, head over to the ‘Integrations’ tab.
Here you will find HubSpot in the list of integrations. Just click the arrow icon to expand the section, and then you can click the ‘Add New Account’ button.


A prompt will open up, asking you to connect with your HubSpot account. Simply type your HubSpot account login credentials.
If you don’t already have an account, then you can create one here.


Next, you’ll be asked if you want to continue with this account.
Simply click the ‘Continue With This Account’ button.


After that, you’ll be shown a popup asking you to connect WPForms with Hubspot.
Click on the ‘Connect App’ button at the bottom of the page.


On your WordPress dashboard, return to the ‘Integrations’ screen.
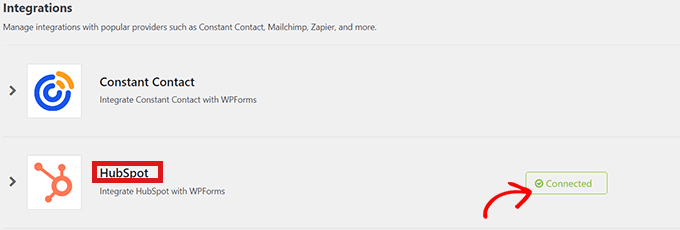
You should now see ‘Connected’ beside the section for HubSpot.


Now go to WPForms » Add New from the dashboard to create your HubSpot form.
First, select a form template from the WPForms template library.


After selecting the template, you’ll be taken to the WPForms interface where you can edit the form template.
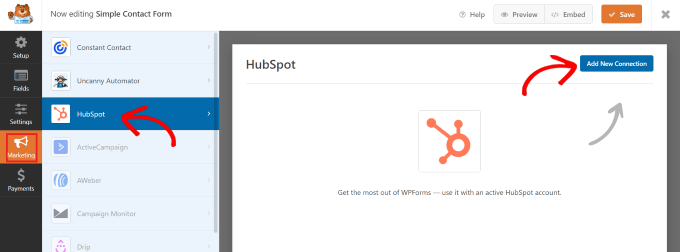
Now, click on the ‘Marketing’ option on the menu bar to the left. Simply select ‘HubSpot’ from the list of integrations.
A HubSpot popup will then appear on the screen. Simply click the ‘Add New Connection’ button at the top.


WPForms will now prompt you to enter a connection nickname.
You’re free to choose any name you like, as no one will see this but you. Just click the ‘OK’ button when you’re done.


WPForms will then ask you to select your HubSpot account and choose an action to perform. Simply choose your account from the ‘Select Account’ Field.
Then choose the ‘Create/Update Contact’ option from the ‘Action to Perform’ field.


After selecting this option, various new settings will appear within the form.
Fill in those fields accordingly.


Next, you’re ready to customize your form in the form builder.
Simply create drag and drop fields from the left-hand side into the live preview on the right.


You can add any information that you want to collect and organize in your HubSpot account.
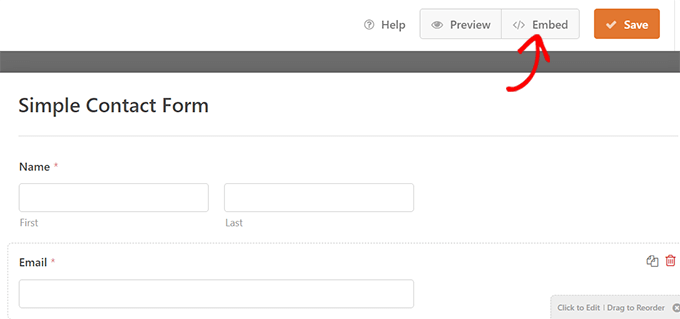
Once satisfied, click the ‘Embed’ button present at the top of the form builder.


This will open the ‘Embed in a Page’ prompt.
If you want to embed your HubSpot form on a new page, click the ‘Create New Page’ option.
To embed a form on an existing page, click the ‘Select Existing Page’ option.


After that, simply choose the right page from the dropdown that appears.
Now click the ‘Let’s Go’ button.


You will automatically be directed to the page that you selected from the dropdown menu. The HubSpot form will already be embedded there.
Simply click the ‘Publish’ button at the top of the content editor to push your new form live.


That’s it! We hope you learned how to create a HubSpot form in WordPress. You may also want to check out our ultimate guide on SEO for beginners and our expert picks of the best multipurpose themes to create an engaging site.
If you liked this article, then please subscribe to our YouTube Channel for WordPress video tutorials. You can also find us on Twitter and Facebook.
